When you need a perfect square hole, a flawless keyway, or a complex internal spline, standard drilling or milling won’t cut it. That is where broach metalworking enters the shop floor. Imagine trying to cut a precise, star-shaped opening inside a steel gear. A drill bit just spins in place. A milling bit cannot reach the interior. The solution? A multi-toothed, linear cutting tool that pulls or pushes through the material, removing a tiny layer with each tooth.
For small business owners making custom hydraulic fittings or freelance machinists repairing agricultural equipment, broaching metalworking is the difference between a functional assembly and a rejected part. In this guide, you will learn how this process works, why it outperforms other methods, and how to avoid costly mistakes—even if you are new to rotary or linear broaching.
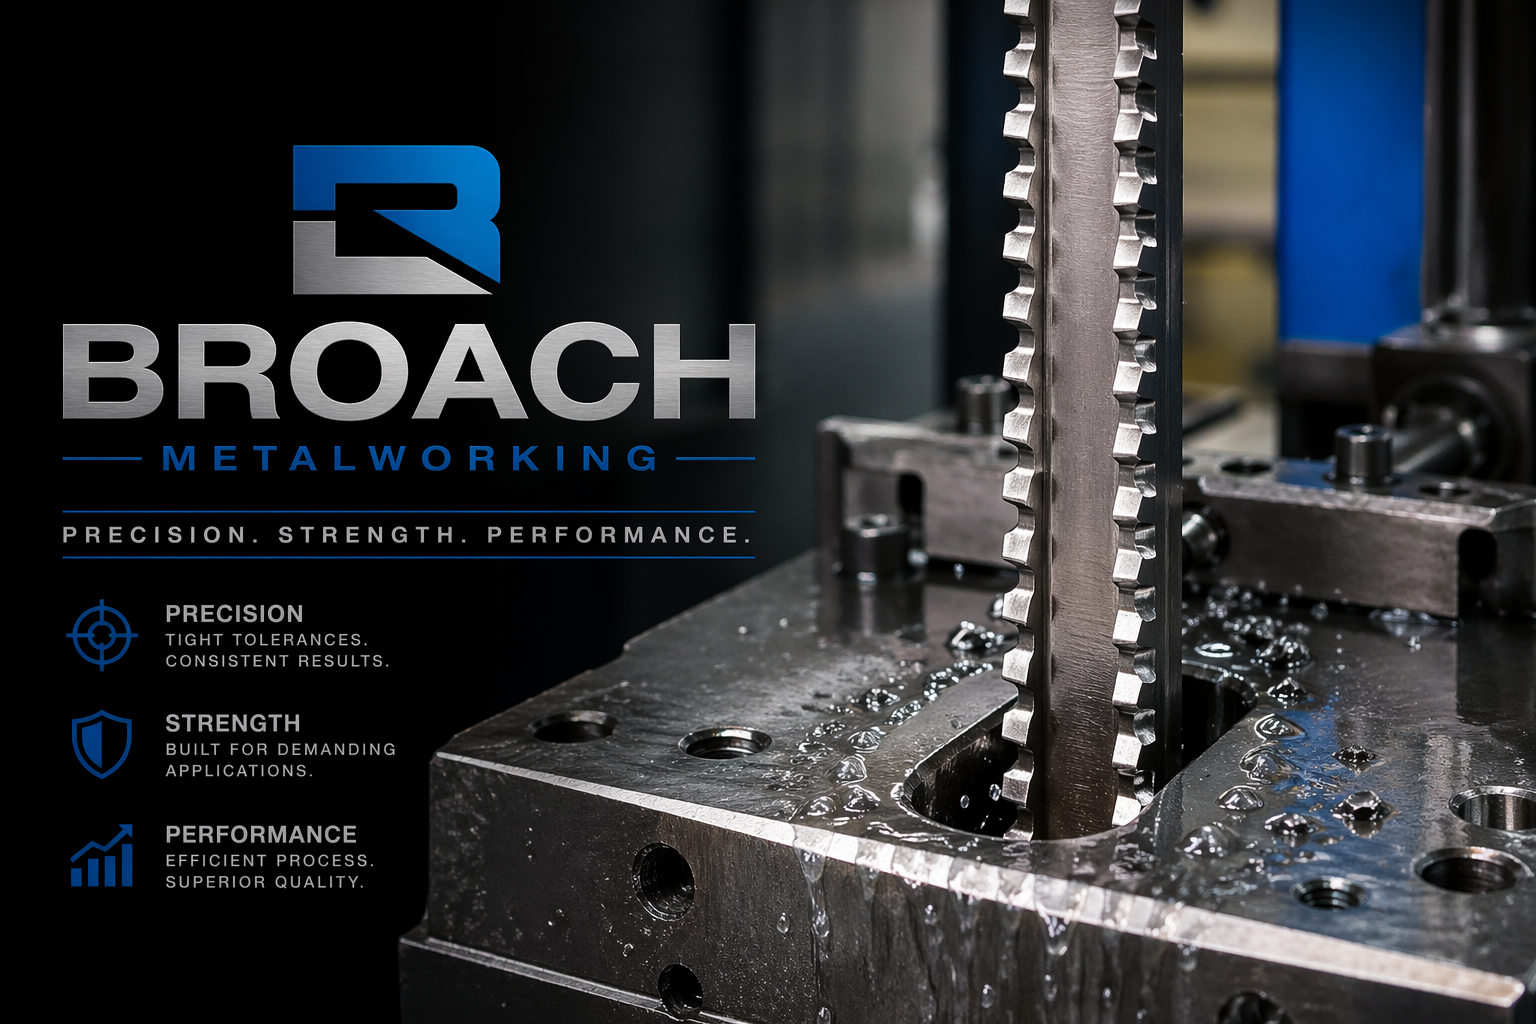
![Broaching metalworking diagram showing internal keyway cutting process]
What Exactly Is Broach Metalworking?
In simple terms, broach metalworking is a subtractive machining process that uses a specialized tool called a broach. This tool features a series of progressively taller teeth. As the broach moves linearly (either pulled or pushed) past a stationary workpiece, each tooth removes a predetermined chip.
-
The first tooth takes a shallow cut (0.001 to 0.005 inches).
-
The middle teeth remove the bulk of the material.
-
The final teeth serve as a finishing pass, hitting the exact dimension.
Think of it like a carpenter’s rasp, but engineered for surgical precision inside holes. Unlike a drill, which leaves a round bore, a broach can create hexagons, squares, keyways, splines, and even intricate gear profiles in a single pass.
Why Choose Broaching Over Milling or EDM?
Many beginners ask: “Why not just use a CNC mill or wire EDM?” The answer is speed and repeatability.
-
CNC milling internal profiles requires tiny end mills, slow passes, and extensive programming.
-
EDM is accurate but painfully slow for production runs.
-
Broach metalworking completes the same feature in seconds—not minutes or hours.
For a freelancer quoting 500 hydraulic manifolds, a 10-second broaching pass versus a 4-minute EDM cycle means finishing the job in one day versus two weeks.
The Core Types of Broaching Processes
Not all broaching metalworking is the same. Your application dictates whether you pull, push, or rotate the tool.
1. Internal Broaching
The most common type. A hole is pre-drilled or cored slightly smaller than the broach’s smallest tooth. The broach is then pulled or pushed through. This creates keyways, splines, and polygonal bores inside gears, pulleys, and lock nuts.
Real-life example: A small automotive repair shop needed to replace a worn steering rack pinion. Using a 3mm metalwork broach, the mechanic cut a new internal hex to accept a custom shaft—saving the client $800 in new parts.
2. Surface Broaching (External)
Here, the workpiece is stationary, and the broach moves across the outside surface. This is ideal for flattening decks on engine blocks, cutting dovetails, or creating external gear teeth. Surface broaching machines are often massive hydraulic presses used in high-volume engine plants.
3. Rotary Broaching
This is the hidden gem for CNC lathe and mill owners. A rotary broach tool holder spins the broach at a 1-degree angle relative to the workpiece. Instead of pulling through, the tool “wobbles” and cuts one corner at a time. This allows you to cut internal hex or square holes on a live lathe without a dedicated broaching machine.
Related: [Choosing Between Rotary Broaching and Push Broaching for Small Shops]
Essential Broach Metalworking Terminology (LSI Keywords)
To master broaching metalworking, you need the language. Here are key LSI terms that search engines and machinists use:
-
Keyway broach – A broach specifically for cutting key slots.
-
Spline broach – Designed for internal or external splines (multiple ridges).
-
Pull broaching – The broach is pulled through the workpiece (most common).
-
Push broaching – The broach is pushed (limited to smaller diameters).
-
Broach set – Includes roughing, semi-finishing, and finishing broaches.
-
Broaching machine – Hydraulic, mechanical, or CNC vertical/horizontal presses.
-
Chip breaker – Grooves on the broach teeth that curl and break chips.
-
Broach sharpening – Resharpening the tooth faces to extend tool life.
Pro tip: Search broaching metalworking video on technical forums to see the chip evacuation process in slow motion. Watching the chips curl and snap is oddly satisfying—and critical to understanding why lubrication matters.
The Step-by-Step Broaching Process (From Blank to Perfect Fit)
If you are a job shop owner quoting your first broaching job, here is the exact workflow.
Step 1: Pre-Drilling the Starting Hole
Your blank must have a bore slightly larger than the smallest tooth of the broach but smaller than the final dimension. For a 3mm metalwork broach cutting a 3mm hex, the pre-drill might be 2.8mm round.
Step 2: Workholding and Alignment
Any misalignment here fractures broaches. Use a guided bushing or fixture. In vertical broaching machines, the workpiece sits on a table with a precision-ground hole. The broach passes straight through.
Step 3: Lubrication (The Silent Hero)
Broaching generates immense friction. High-pressure cutting oil with extreme pressure (EP) additives is mandatory. Oil flushes chips away, cools the teeth, and prevents galling (metal welding to the tool).
Common mistake: Using standard coolant. That burns your broach after ten parts. Use proper broaching oil—it smells stronger but triples tool life.
Step 4: The Cutting Pass
The broach engages. Depending on length, a pass takes 2 to 15 seconds. You will hear a consistent hissing cut—not a chatter or squeal. Squealing means dull teeth or wrong lubrication.
Step 5: Inspection
Check the finished feature with go/no-go gauges or an optical comparator. Internal splines and keyways must fit mating parts without slop or interference.
Pros and Cons of Broach Metalworking (Quick Reference)
Pros
-
Extreme speed – One pass, finished feature. No secondary operations.
-
Superb surface finish – Often 16–32 microinches Ra without polishing.
-
High accuracy – Hold tolerances of ±0.0005 inches routinely.
-
Repeatability – Ideal for production runs of 100 to 100,000+ parts.
-
Complex shapes – Cut squares, hexagons, serrations, and helical splines.
Cons
-
High initial tool cost – A custom broach can cost $500–$5,000.
-
Long lead times – Custom broaches take 4–8 weeks to manufacture.
-
Not for blind holes – The broach must exit the workpiece (except rotary broaching).
-
Material limitations – Hardened steel (over 35 HRC) destroys standard broaches.
-
Storage space – Long broaches (up to 6 feet) require vertical racks.
Common Broaching Failures (And How to Avoid Them)
Even experienced machinist break broaches. Here is what typically goes wrong.
Failure 1: Broach Breaks on First Cut
Cause: Pre-drilled hole too small or misaligned bushing.
Fix: Verify hole size with a pin gauge. Use a longer pilot bushing.
Failure 2: Rough, Torn Surface Finish
Cause: Dull teeth or insufficient lubrication.
Fix: Send the broach for sharpening (every 500–2000 parts). Increase oil flow to flush chips.
Failure 3: Workpiece Deforms (Splines Go Out-of-Round)
Cause: Thin wall sections collapse under cutting pressure.
Fix: Use a backup ring or machine the broaching operation before final turning.
Real-life example: A freelancer broaching 1018 steel keyways kept seeing bowed parts. The fix? Supporting the outside diameter with a hardened sleeve. Problem solved.
Broaching Metalworking Wikipedia and Beyond
If you search broaching metalworking wikipedia, you will find a solid technical overview. However, Wikipedia does not tell you that a worn bushing ruined 50 parts last Tuesday. Nor does it explain why a 3mm metalwork broach needs a specific helix angle for aluminum versus stainless steel.
That practical knowledge comes from forums, manufacturer manuals, and—most importantly—hands-on experience. Always verify Wikipedia’s general truths against your specific material, machine rigidity, and production volume.
Is Broach Metalworking Right for Your Shop?
Ask yourself three questions before buying a broaching machine or tooling.
-
Do you make more than 50 identical internal features per month? If yes, broaching pays off quickly. If you make five parts, consider wire EDM or a shaper.
-
Is your material under 30 HRC? Softer materials (aluminum, mild steel, brass, ductile iron) broach beautifully. Hardened tool steel requires CBN or carbide broaches—expensive.
-
Do you have hydraulic press or a CNC lathe with live tooling? A 5-ton arbor press can handle small keyway broaches. For large splines, you need a dedicated broaching machine.
FAQ:
Q:1 What is broach metalworking in simple terms?
It is a machining process that cuts internal or external shapes (like keyways or splines) by pushing or pulling a multi-toothed tool through a workpiece in one pass.
Q:2 Can I broach a blind hole?
No, standard pull or push broaching requires a through-hole. However, rotary broaching on a lathe can cut shallow blind hexes or squares.
Q:3 How much does a custom broach cost?
Expect $500 to $2,000 for a simple keyway broach. Complex spline or helical broaches can exceed $5,000.
Q:4 What materials cannot be broached?
Very hard materials above 45 HRC (like hardened D2 or CPM steel) and extremely gummy materials (pure copper, some superalloys) without specialized tooling.
Q:5 How long does a broach last between sharpenings?
Typically 500 to 5,000 parts, depending on material, lubrication, and alignment. Soft aluminum can yield 10,000+ parts.
Q:6 Is broaching faster than milling?
Yes—often 10 to 50 times faster for internal profiles because it cuts all teeth simultaneously in one linear stroke.
Q:7 Do I need a special machine for broaching?
For small keyways (under 10mm), a manual arbor press works. For production, use a hydraulic vertical broaching machine.
Q:8 What is a 3mm metalwork broach used for?
Cutting precise 3mm hex, square, or keyway holes in small gears, lock nuts, instrument components, and custom fasteners.
Q:9 Where can I find a broaching metalworking video?
YouTube channels like “Edge Precision” and “Practical Machinist” show real-time rotary and pull broaching. Search for “broaching metalworking video slow motion” to see chip formation.
Q:10 Can I broach on a CNC lathe?
Yes, using a rotary broaching tool holder in the live tooling station or turret. This is ideal for small production runs.
Q:11 What is the difference between push and pull broaching?
Push broaching compresses the tool (limited to short lengths). Pull broaching tensions the tool (allows longer, more accurate cuts).
Q:12 How do I choose the right broaching oil?
Use high-viscosity, extreme-pressure (EP) chlorinated or sulfurized oil for steel. For aluminum, use a low-viscosity, non-staining broaching fluid.
Q:13 Is broaching metalworking obsolete?
No—it remains the fastest, most accurate method for high-volume internal shapes. Modern CNC broaching machines now integrate automation and tool monitoring.
Conclusion:
In an era of 5-axis machining and additive manufacturing, broach metalworking remains irreplaceable for speed, surface finish, and geometric accuracy. No other process cuts a perfect internal hexagon in a 2-second pass. No other process holds ±0.0002 inches on 10,000 consecutive parts without re-calibration.
For the freelancer repairing antique tractor gears, the 3mm metalwork broach means earning a $500 profit on a 15-minute job. For the small business owner manufacturing custom couplings, broaching metalworking transforms a slow EDM bottleneck into a just-in-time production cell.
Start with a simple keyway broach kit and an arbor press. Watch a few broaching metalworking video tutorials. Then, broach your first part. The satisfying snap of a finished keyway? That sound is money in the bank.
Ready to optimize your internal cutting? Check our guide: Rotary Broaching vs. Push Broaching: Which Saves More Setup Time?
All variations appear naturally throughout the article without forced repetition.
Pros and Cons Summary Table (Quick Scan)
| Pros | Cons |
|---|---|
| ✅ Extremely fast (seconds per part) | ❌ High custom tool cost |
| ✅ Excellent surface finish (16–32 Ra) | ❌ Long lead times (weeks) |
| ✅ Holds tight tolerances (±0.0005″) | ❌ Requires through-holes (except rotary) |
| ✅ Ideal for high-volume production | ❌ Limited to softer materials (<35 HRC) |
| ✅ Creates complex internal shapes | ❌ Broaches need storage space |
FOR FURTHER INFORMATION, VISIT: THESOLOMAG